




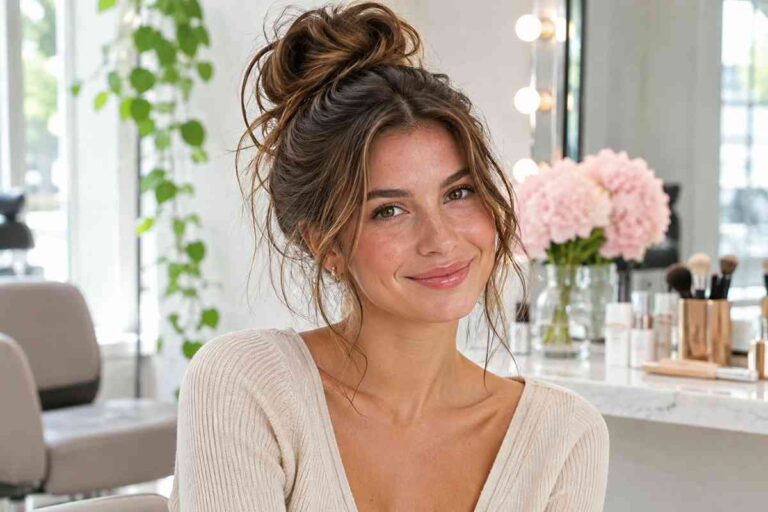
Messy buns are supposed to be the easiest updo, but there’s a trick to looking that nonchalant: texture first, a loose wrap, and a few pieces pulled free at the end. Here’s the basic method, the fixes for a bun that comes out prim instead of pretty, and 8 messy bun tutorial videos to watch it done.
I am going on vacation in a week, and my main goal is to look like I live in a J. Crew catalog. Actually, that’s a lie. My main goal is to eat all the octopuses in the world, my second goal is to decimate Italy’s supply of effervescent wine, and my third goal is the J. Crew thing. In pursuit of that goal, I’ve spent the past few days combing the Internet for information on that messy-chic look that J. Crew catalog models always have.
Somehow the messy look has always eluded me. When I wear my hair down, it’s generally just fluffy and frizzy and looks messy no matter what I did to it before. When I wear my hair up, though, it instantly turns into the hair of a frumpy schoolmarm. I’ve tried clean hair, day-old dirty hair, five-day-old dirty hair, hairspray, dry shampoo, bobby pins, and twist pins, but I’ve never managed to obtain that messy-chic “I look awesome and casual and possibly French” look. My hair just twists itself into a bun that says, “Where is your homework? And pull up those trousers, you look like a delinquent!”
But I’m an eternal optimist, and I believe with the right practice we’ll all be able to get bright lips and messy buns if we want them. Here’s what the practice looks like.
How to Do a Messy Bun in 6 Steps
You’ll need a hair elastic or scrunchie, a handful of bobby pins, and something for grip: dry shampoo, texturizing spray, or simply hair you didn’t wash this morning.
- Give your hair some grip. Freshly washed, silky hair slides right out of a bun. Spray dry shampoo or texturizing spray at the roots and through the lengths, then rough it up with your fingers.
- Gather it with your hands, not a brush. Flip your head forward if you want extra lift, and pull your hair into a loose ponytail. A brush smooths everything flat, and smooth is exactly what makes a bun look strict. Height is up to you: on top of your head for a topknot, at the crown for an everyday bun, at the nape for something softer.
- Add volume if you need it. If your hair is straight or fine, hold up a small section and backcomb a few strokes toward the elastic. One or two sections is plenty. Skip this step if your hair is curly, fragile, or already full.
- Twist and wrap loosely. Twist the ponytail and wind it around the base without pulling it taut. Secure it with a second elastic or with bobby pins pushed in toward the base. Shortcut: on the last loop of your elastic, pull the hair only halfway through, then wrap the loose ends around the base and tuck them in.
- Pinch and pull. Hold the base with one hand and gently tug the edges of the bun outward to widen it. Then loosen the hair at your crown a little and pull out a few pieces at your temples and the nape of your neck.
- Set it. A light mist of hairspray keeps the shape without making it crunchy. Smooth any frizz you don’t want with a tiny bit of hair oil or a wax stick.
Why Your Messy Bun Looks Like a Schoolmarm’s (and How to Fix It)
- The roots are too slick. The bun can be as messy as you like, but if everything leading up to it is pulled flat, the whole look reads severe. Loosen the hair around your crown and hairline with your fingertips.
- The bun is too small and tight. Pull at the edges until it’s wider and flatter than feels right. A messy bun usually looks better bigger.
- It falls out by lunch. Check the grip and the hold. Slippery hair usually needs dry shampoo or texturizing spray. A heavy bun needs a second elastic or a few more bobby pins pushed in toward the base.
- It looks sloppy instead of chic. The loose pieces should look chosen. Keep a few deliberate face-framing strands and smooth the random frizz around them.
Adjusting for Your Hair Type
- Fine hair: Texturizing spray helps with grip. Pull the bun out wide to make it look fuller, or wrap it around a fat scrunchie for extra volume.
- Thick hair: Skip the teasing and split the ponytail into two sections, wrapping and pinning each one separately. You’ll likely need more pins than you expect.
- Shoulder-length or layered hair: Try a half-up messy bun or a low bun at the nape. Shorter layers will escape, which is fine here. Pin the pieces that bother you and leave the rest.
- Curly or coily hair: Your natural texture already does most of the work, so skip the backcombing. Gather the hair gently, secure it with a satin scrunchie, and use a curl cream or gel to define the pieces around your face.
One more reason to keep it loose: the American Academy of Dermatology lists tightly pulled buns, ponytails, and updos among the styles that can cause traction alopecia, a type of hair loss from repeated pulling. A messy bun is supposed to be relaxed anyway, so if your scalp aches, loosen it.
8 Messy Bun Tutorial Videos
Seeing the wrap done in real time makes it click faster. Want height? Start with the high bun from VintageBeautyGirls or the topknot from Makeupbyalli. For a softer, off-center look, try the side bun. Lilith Moon’s beachy bun and Macbarbie07’s braided bun take it in two different directions, and LuxyHair’s version is the dressiest of the bunch.
Messy Buns Tutorial by Alexsis Mae
High Messy Bun by VintageBeautyGirls
Quick Messy Beachy Bun by Lilith Moon
Simple Messy Bun by Dollybowbow
Messy Topknot Bun by Makeupbyalli
How to Get a Messy Side Bun by WSJDigitalNetwork
Quick and Messy Bun Updo by LuxyHair
This one goes beyond the simple J. Crew messy bun and winds up almost a 1960s style updo.
Braided Messy Bun Tutorial, Laidback & Girly by BEAUTALIE
After mastering the messy bun and the messy braid, why not fuse them?
For more ideas, browse our hair tutorials or the rest of our women’s hairstyles.


